Salesforce Development Tutorials | Salesforce Development: Lightning Web Components (LWC) | Salesforce Tutorials | The LWC Master Class
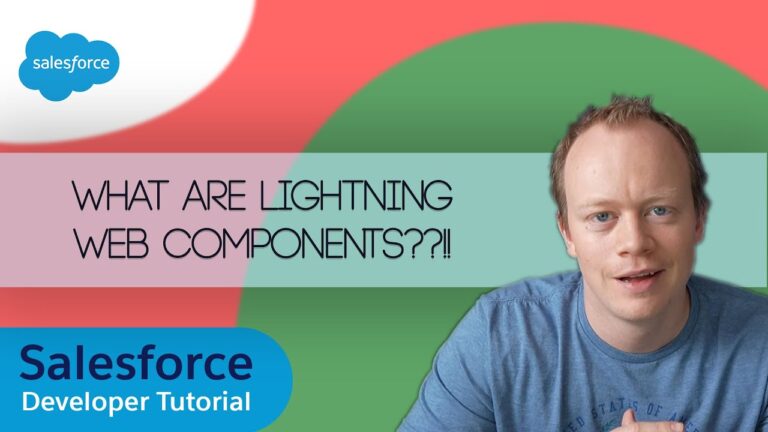
Salesforce LWC Master Class (Ep1): What Are Lightning Web Components, when to use them, and why to use them.
If you are a Salesforce developer (or an admin looking to level up), you’ve likely heard the buzz around Lightning Web Components (LWC). But what exactly are they? Why should you use them over flows or Aura components? And how do you actually build one? In the first episode of the Salesforce LWC Master Class,…