Skip to content
Coding With The Force

Coding With The Force

Making Salesforce Development a Breeze

  • Salesforce Apex Master Class
    • Apex Programming Language Basics
  • Salesforce Administration
    • Salesforce Administration: Single Sign-On
    • Salesforce Administration: Custom Settings
    • Salesforce Administration: Process Builders
  • Salesforce Development Tutorials
    • Salesforce Development: Apex Triggers
    • Salesforce Development: IDE Setups
    • Salesforce Development: Lightning Web Components (LWC)
    • Salesforce Development: Apex
    • SoC and the Apex Common Library Tutorial Series
  • About Us

Tag: Reset

Posted on September 13, 2020January 20, 2021

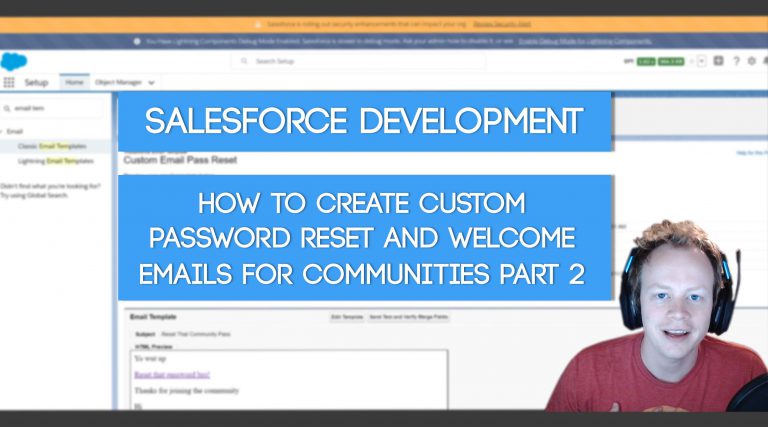
Salesforce Development: How to create custom welcome and password reset emails for Communities Part 2

Tweet

How to Render Elements of a Custom Community Password Reset and/or Welcome Email Conditionally

Alllllrighhtttttttt, so if you didn’t read the first blog post, you might get a bit lost, so be sure to check that out here.

If you have already read it, let’s figure out first why the hell you would ever want to do this conditional rendering magic. It’s because of the following:

1) You can only associate one password reset email and/or welcome email to your community (This is especially important for password reset emails as we’ll see in a bit).

2) If you need different user groups to receive different things in their welcome or password reset emails, you need to be able to conditionally render elements based on who the email is being sent to.

So now that we know why we would do this, let’s figure out how we would go about doing this.

The first thing we’re going to do is create a visualforce component and an apex class to be the controller for the component. Example code for the component and controller are below. I’ll explain them a bit more after you view them. You can also view them here on github.

<!--This is the visualforce component-->
<apex:component id="ToightComPassReset" access="global" controller="ToightComPassResetController">
	<apex:attribute name="contactIdPassed" description="Contact id passed from email 
         template" type="Id" assignTo="{!contactIdPassedCtrl}"/>

	<p>Hi bro wut upppppppppppppp</p>

	<div style="{!IF(ProfileName='Customer Community Plus Login User', 'display:block', 
        'display:none')}">
		<a href="{!$Network.NetworkUrlForUserEmails}">Click here to reset your 
                 password</a>
	</div>

</apex:component>
//This is the visualforce component controller
public with sharing class ToightComPassResetController
{
	public Id contactIdPassedCtrl{get; set;}

	public String getProfileName()
	{
		String profileName = '';

		List<User> usersFromContact = [SELECT Profile.Name FROM User WHERE ContactId = 
                :contactIdPassedCtrl LIMIT 1];

		if(!usersFromContact.isEmpty())
		{
			profileName = usersFromContact[0].Profile.Name;
		}

		return profileName;
	}
}

So, obviously to a seasoned developer the code above is not super complicated but if you’re not familiar with it or why I wrote the component the way I did, let me explain it a bit. Here are some key pieces of the vf component:

1) Your component must be declared as access= “global” or else it will not be visible to your email template.

2) The component is declared with an <apex:attribute> tag, this tag allows you to send data to your visualforce component from the email template and pass that data to your apex controller. In our case we will be sending the contact Id from the email template and assigning it to the contactIdPassedCtrl variable in the apex controller.

3) We conditionally render a div on the page using an IF condition instead of just using a pageblock. This is because you can’t utilize pageblocks in email templates, you have to use normal html elements.

4) This conditional rendering might seem confusing, “{!IF(ProfileName=’Customer Community Plus Login User’, ‘display:block’,’display:none’)}” but it’s actually fairly simple when explained, so let me do that. Basically what it’s saying is, if the getProfileName method in our apex controller returns a value of “Customer Community Plus Login User” display our div, otherwise don’t display it.

5) If you didn’t know, in Visualforce, if your apex controllers method starts with the word get, you can reference it without the word get in the vf page/component. More examples here.


Referencing our Visualforce Component in the Email Template

Alright so now that we have our vf component and our apex controller built, let’s check out how to reference that component in our email template!

<messaging:emailTemplate subject="wow" recipientType="Contact" relatedToType="Network">
<messaging:htmlEmailBody >

<c:ToightComPassReset contactIdPassed="{!recipient.Id}"></c:ToightComPassReset>

</messaging:htmlEmailBody>
</messaging:emailTemplate>

Pretty simple right? Not a lot to it. To reference the vf component we just use the component tag “<c:ToightComPassReset>” which is just <c: followed by the name of the vf component you made and we use the “contactIdPassed” parameter to pass our contacts id to the component. If you don’t remember our recipient type is equal to contact so the “recipient.Id” merge variable references the contact id. Additionally the contactIdPassed is the name of the <apex:attribute> we declared in our vf component.


Now for the frustrating truth… Welcome emails do not work with conditional rendering

You might be thinking… then why did you just waste my time. Please don’t worry, not all hope is lost. Yes, unfortunately when you use the OOTB welcome email setup for communities they for some reason do not respect the conditional rendering (at least when looking at profiles or permission sets)… it is infuriating, I tried a million different ways and I almost gave up all hope, but where there’s a will, there’s a hacky Salesforce solution, so let me walk you through it.

Thankfully, reset password emails and emails sent in the after portion of a user trigger respect conditional rendering just fine! So let’s figure out how to leverage that knowledge. Before setting up the trigger though let’s do a little more prep work.

First thing is first, turn off welcome emails for your community… they aren’t gonna work. We’ve gotta get more custom.

Next build a custom vf template welcome email if you want one that differs from the password reset email.

Make sure your password reset email is still selected for the Forgot Password and Change Password email options in your community’s admin email tab.

And now… let’s make a User trigger.


Creating a User Trigger to send out community password reset and welcome emails

Yep, this is it, we’re finally on the last step. To finish this and make custom password reset and welcome emails work for your communities.

Below is some example code showing you how to do this. Fair disclaimer here, this is not how you should setup a trigger ever! You should be using a trigger framework like this one and leveraging it, but I wanted to keep this simple for those of you out there who are less familiar with triggers. Please DO NOT PUT THIS CODE IN YOUR ORG WITHOUT REWRITING IT TO BE MORE SPECIFIC FOR WHEN TO SEND OUT EMAILS!! You can also view the code on github here.

//This is our User trigger
trigger UserTrigger on User (after insert)
{
    if(trigger.isAfter && trigger.isInsert)
    {
        CommunityEmailManager.processEmails(trigger.new);
    }
}
//This is our helper class to send out emails
public with sharing class CommunityEmailManager
{
	private static final String PROFILE_NAME = 'Customer Community Plus Login User';

	public static void processEmails(List<User> userList)
	{
		Set<Id> profIds = new Set<Id>();

		for(User usr: userList)
		{
			profIds.add(usr.ProfileId);
		}

		Map<Id, Profile> profilesFoundMap = new Map<Id, Profile>([SELECT Name FROM 
                Profile WHERE Id IN: profIds]);
		List<Messaging.SingleEmailMessage> welcomeEmails = new 
                List<Messaging.SingleEmailMessage>();
		List<EmailTemplate> welcomeEmailTemplates = [SELECT Id FROM EmailTemplate 
                WHERE DeveloperName = 'Taco_Bueno' LIMIT 1];

		for(User usr: userList)
		{
			if(profilesFoundMap.get(usr.ProfileId).Name == PROFILE_NAME)
			{
                                //Sending out our password reset emails
				System.resetPassword(usr.Id, true);
			}
                        //Setting up our welcome email to send by rendering our vf email 
                        //template
			Messaging.SingleEmailMessage welcomeEmailMessage = 
                        Messaging.renderStoredEmailTemplate(welcomeEmailTemplates[0].Id, 
                        usr.ContactId, null);
			String [] toAddresses = new String[]{usr.Email};
			welcomeEmailMessage.setToAddresses(toAddresses);
			welcomeEmails.add(welcomeEmailMessage);
		}

		if(!welcomeEmails.isEmpty())
		{
                        //Sending out our custom welcome emails
			Messaging.sendEmail(welcomeEmails);
		}
	}
}

So again this code isn’t super complex, but let me explain what’s happening in the Community email manager just a bit.

1) Because we cannot get object relationship fields in triggers, if you are sending emails based on profiles we need to grab the ids of our new users profiles and query the profiles object to create a map of profiles so we can figure out the names of our users assigned profiles. Unfortunately we cannot use the Profile.Name relationship field on the User object like we did in our VF component controller.

2) If you created a custom welcome email that is separate from the password reset email, you need to query to find its template via the EmailTemplate object, we need the Id of the template to render it for our email we send out later in the code.

3) The System.resetPassword() method is what is sending out the reset password emails for our users. This will send out reset password emails for all communities they are members of (so be careful and make sure you only send them out when necessary).

4) The Messaging.renderStoredEmailTemplate method takes three parameters, the Id of the email template you intend to render, the Id of the recipientType and the Id of the RelatedToType for your template. This method works the best for rendering visualforce email templates.

5) We add our outbound emails to a list of single email messages. This is important because while we can send thousands of emails at one time, we can only call the Messaging.sendEmail() method up to ten times in the same context. So we want to send that method a giant list of emails instead of one email at a time.

Now, if you test out your emails you should have conditional rendering working in your templates, password reset links in your super customized password reset emails and now you can do whatever you can dream of with those emails. We did it!!!


Get Coding With The Force Merch!!

We now have a redbubble store setup so you can buy cool Coding With The Force merchandise! Please check it out! Every purchase goes to supporting the blog and YouTube channel.

Get Shirts Here!
Get Cups, Artwork, Coffee Cups, Bags, Masks and more here!


Check Out More Coding With The Force Stuff!

If you liked this post make sure to follow us on all our social media outlets to stay as up to date as possible with everything!

Youtube
Patreon
Github
Facebook
Twitter
Instagram


Salesforce Development Books I Recommend

Advanced Apex Programming
Salesforce Lightning Platform Enterprise Architecture
Mastering Salesforce DevOps

Share this:

  • Twitter
  • Facebook
  • LinkedIn
  • Reddit
  • Print
Posted on September 13, 2020January 20, 2021

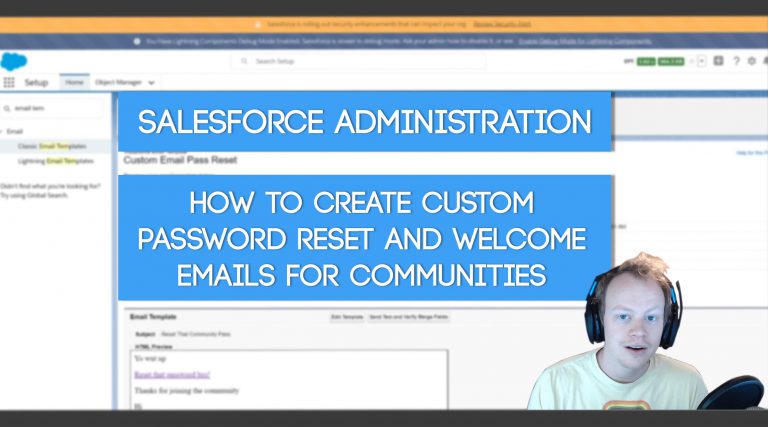
Salesforce Development: How to create custom welcome and password reset emails for Communities Part 1

Tweet

Why Would We Need to Create Custom Welcome and Password Reset Emails?

There are a handful of reasons that you would need to create custom password reset and welcome emails for your Salesforce Communities. The most common reasons are the following:

1) The out of the box (OOTB) custom password reset and welcome emails are just bland and boring. They are regular text templates with not a lot to them.

2) There are multiple users types in your community. Some users need to see different things in their welcome and password reset emails, so we need to render different sections of the emails for different user types.

3) Some users sign in via Single Sign On (SSO) and don’t need a password reset email, but some users aren’t allowed to use SSO and do need to sign on via the normal Salesforce community login page.

All of these are legitimate and relatively common business cases for customizing your password reset and welcome emails, that being said Salesforce doesn’t make this process easy or document it well, so let’s dive in to how we can achieve these custom emails.


Setting Up Our Custom Visualforce Email Template

The first thing we need to do, after activating our community and setting membership for the community (these things are covered in the video above), is setup a visualforce email template to create our custom pass reset and welcome emails.

To create a new vf email template, do the following:

1) Go to Setup -> Classic Email Templates and click the “New Template” button.
2) Select the “Visualforce” template type
3) Fill out the “Email Template Information” section with whatever you’d like.
4) In the “Visualforce Template Attributes section, make the “Recipient Type” Contact and the “Related To Type” Network
5) Click the “Save” button

There is a ton of conflicting information on the internet about what to make the Recipient Type and Related To Type for these email templates. CONTACT AND NETWORK SHOULD ALWAYS BE WHAT YOU USE IN THIS INSTANCE! You might be like, “But why bro? Why that matter at all?”. For these password reset and welcome emails for community members these objects seems to work best without any problems (I’ve tested tons of combinations). You get merge field issues when you utilize the User object instead of the Contact object for recipient and you get the most additional useful information from the Network object (which is the object that stores your community information in SF). Feel free to do more investigation yourself but I have wasted days of my life on this, lol… it wasn’t super fun.


The Visualforce Email Template Code and The Magical Global Network Merge Field

After you’ve created/saved your visualforce email template, press the “Edit Template” button. You should see something like the code below:

<messaging:emailTemplate subject="wow" recipientType="Contact" relatedToType="Network">
<messaging:plainTextEmailBody >
Congratulations!
This is your new Visualforce Email Template.
</messaging:plainTextEmailBody>
</messaging:emailTemplate>

You should go on ahead and change it to something like this (the words inside the paragraph tag can be anything):

<messaging:emailTemplate subject="wow" recipientType="Contact" relatedToType="Network">
<messaging:htmlEmailBody >

<p>Hi there welcome to the community</p>
{!$Network.NetworkUrlForUserEmails}

</messaging:htmlEmailBody>
</messaging:emailTemplate>

So… what did I change? There are two things:

1) I changed the <messgaing:plainTextEmailBody> tags to <messaging:htmlEmailBody> tags. This allows us to make an email using html instead of just plain text.

2) I added the paragraph tag and the most magical merge field in the system (at least for this blog post) !$Network.NetworkURLForUserEmails

Let me tell you… Several years ago, when I first attempted this, I googled a ton of different ways before I finally found this merge field. This network merge field normally gives you the url for the login page of the community, but if this is in a welcome email or a reset password email for the community it will create a link for the reset password page! This is the key to making our custom password reset emails… but there’s even more to consider with this, unfortunately.


How to Test Your New Custom Welcome and/or Password Reset Email

You might be thinking, “Yes! This Network merge field solves all my problems”, but there’s one more thing you need to take into consideration (at least) and that’s how to test this new custom email you’ve made. If you try to use the, “Send Test and Verify Merge Fields” button to test this email, you’ll notice that it doesn’t work… the password reset link just won’t send… great. So what do you do?

To test this email we need to do the following:

1) Go back to your community and override the password reset emails in the Workspaces Emails tab.

2) Create a contact that has (at least) a first name, last name, email and account associated to them.

3) Enable the contact as a community user

4) Make sure the community user for the contact has a profile or permission set that makes them a member of the community. Also make sure they have an email associated to their user that you have access to.

5) Grab the Id for the user you just created from the URL of your user record

6) Open the developer console

7) Open the Execute Anonymous Window in the Developer Console

8) Paste the code below into the Execute Anonymous Window and then click the “Execute” button

System.resetPassword('[Your user Id you copied above]', true);

After running that System.resetPassword(userId, sendEmail) method in the execute anonymous window you should receive an email with a password reset link inside it! Wooooooooooooooooo!!! We did it!! We got an email setup that we can heavily customize that we can also get a password reset email in! Depending on your needs though… this may not be enough. There are a few more caveats to get through if you need different things rendered for different community member types, etc.


Getting Technical With It

If you need to segment out your emails and/or render things conditionally for different users, move on to the next blog post here.

We go over how to build Visualforce Components to conditionally render elements of your email based on the user we’re sending the email to, the extremely interesting problem doing that with Welcome emails and how to setup a trigger on the User object to determine who to send different emails to.


Get Coding With The Force Merch!!

We now have a redbubble store setup so you can buy cool Coding With The Force merchandise! Please check it out! Every purchase goes to supporting the blog and YouTube channel.

Get Shirts Here!
Get Cups, Artwork, Coffee Cups, Bags, Masks and more here!


Check Out More Coding With The Force Stuff!

If you liked this post make sure to follow us on all our social media outlets to stay as up to date as possible with everything!

Youtube
Patreon
Github
Facebook
Twitter
Instagram


Salesforce Development Books I Recommend

Advanced Apex Programming
Salesforce Lightning Platform Enterprise Architecture
Mastering Salesforce DevOps

Share this:

  • Twitter
  • Facebook
  • LinkedIn
  • Reddit
  • Print
Proudly powered by WordPress