Salesforce Apex Master Class (Ep. 4) – What is an IDE?

What is an IDE?

Let’s review what an IDE is and why it’s so incredibly helpful to you as a developer in Salesforce and beyond. As a developer, you’re encouraged to use an IDE, since it can make your work so much easier.

An IDE is an integrated development environment, where you can combine a wide variety of development tools to do your work much faster and more efficiently every day. Now, let’s check out an example (below) of an IDE at work. This particular IDE is IntelliJ, and I’m using a plug-in that allows me to do Salesforce development called the Illuminated Cloud 2 plug-in.

Demoing the Benefits of Using an IDE

An IDE like IntelliJ here will make your life, and the lives of your developer teammates, so much easier. In this interface, I have my code editor so I can write Apex code or a lightning web component, among other things. I can also analyze debug logs here in this IDE, or even run anonymous Apex. But why should you use an IDE and not just a developer console? An IDE like IntelliJ has many features that developer consoles don’t.

The first major benefit is if you want to know everywhere that a class is used in your codebase, you can simply copy the name of the class, then press CTRL-shift-F, and then the IDE searches for the class in all of the code in your Salesforce environment. There are also a litany of other hotkeys that will make traversal through your code base considerably easier. Shortcuts like that aren’t available in the developer console.

Autocomplete is another major advantage in using an IDE like IntelliJ with Illuminated Cloud 2. You can type “system.” and the IDE knows methods are available for that system class in the Apex language. So, you it will present to you a list of autocompleted methods that you can select from and have your code auto-completed for you. By contrast, the Salesforce developer console’s auto-complete features struggle and sometimes just outright do not work. This makes it easy for programmers, like you, to know all your options without having to look them up elsewhere in documentation.

There’s even more an IDE can do for you. For example, you can enable version control, allowing you to create local backups of your code, so you can revert back if something goes wrong. You sure can’t do that in a developer console! Meanwhile, you can find more useful stuff in the settings menu too, such as setting all the defaults for code style for a specified language, such as Apex or Javascript. All that will be automatically formatted for you. You can export all this to other developers on your team too, and make everyone’s code consistent. That’s an example of the convenient, time-saving efficiency of an IDE.

Another option is to run your Apex tests in the IDE, and it will display coverage next to the classes that it tests. Yes, you can do that in developer consoles too, but an IDE like IntelliJ will conveniently show you which classes the test covered, and even break down what happened in those tests, such as line coverage. Pretty cool, huh? And this is just the start; an IDE can do a whole lot more!

To recap, an IDE like IntelliJ will make your life as a programmer faster, more convenient, more direct, more consistent, and more intuitive than ever before, acting like a souped-up developer console with more options so you can get more work done. Give it a try, and see what you can accomplish with the power of an IDE! Until next time!


Get Coding With The Force Merch!!

We now have a tee spring store setup so you can buy cool Coding With The Force merchandise! Please check it out! Every purchase goes to supporting the blog and YouTube channel.

Get Coding With The Force Merch Here!


Check Out More Coding With The Force Stuff!

If you liked this post make sure to follow us on all our social media outlets to stay as up to date as possible with everything!

Youtube
Patreon
Github
Facebook
Twitter
Instagram


Salesforce Development Books I Recommend

Advanced Apex Programming
Salesforce Lightning Platform Enterprise Architecture
Mastering Salesforce DevOps
Apex Design Patterns Book

Good Non-SF Specific Development Books:

Clean Code
Clean Architecture
Design Patterns: Elements of Reusable Object-Oriented Software Book

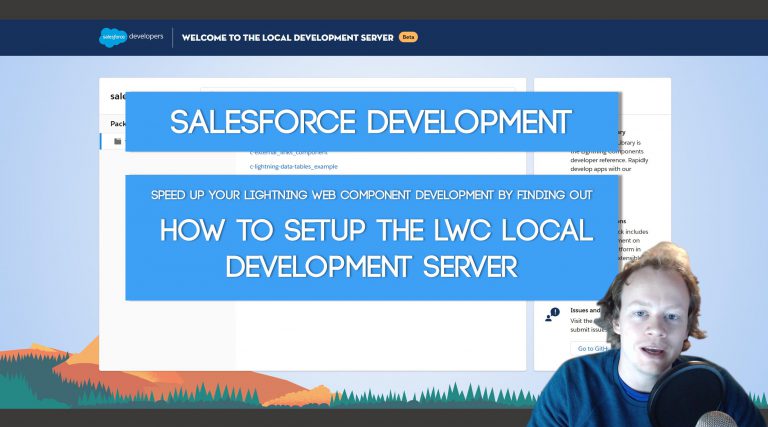
Salesforce Development Tutorial (LWC): How to Setup the LWC Local Development Server

Why setup the Local Development Server?

After you use it a couple times I promise you won’t ever ask this question again, lol. It makes your LWC development SO MUCH FASTER!!! I mean it might actually be Lightning Fast! (I’m sorry, but I’m not letting that joke go…).

If you’ve ever developed LWC’s directly in Salesforce you know that a handful of things can happen, your refresh times after updating your LWC’s can be ultra slow. Additionally, even after turning off persistent caching in your dev org, you will occassionally still have your component cached. That leaves you sitting there refreshing and wondering, “Wtf… how is this even possible? Do I really suck at code this much?” At least those are the thoughts I often have, lol.

With the Local Development Server, you don’t have to worry about those things ever again. It makes SF development so much easier to deal with.


What you need to install to use the Local Development Server

To setup the Local Development Server, you need to do the following things:

1) Install the Salesforce CLI
2) Install either VSCode or the IntelliJ IDE and the Salesforce plugins for them
3) Create an SFDX Project in either IDE listed above
4) Install the Local Development Server Salesforce CLI plugin by running the following command:

sfdx plugins:install @salesforce/lwc-dev-server

There is a VERY important thing to note! In the documentation Salesforce provides for how to setup the local development server it states you need a, “Developer Hub-enabled org” to use the local dev server. THIS IS NOT TRUE! I mean, it’s in your best interest to start using scratch orgs if you can, but enabling the dev org is not a requirement for setting up the local dev server. I’m not sure if at some point it used to be required, but it isn’t anymore.


How to run the Local Development Server

After you have done the installation steps above, you can start using your local development server in one of two ways.

1) If you are in Visual Studio code, you can bring up the command palette (ctrl+shift+p) and type in the following command: SFDX: Open Local Development Server. This command will start the development server and open a browser tab for it after it has successfully started up.

2) If you are in another IDE, you can run the following CLI command from within your SFDX project:

 sfdx force:lightning:lwc:start

This command will start your development server, but not open it in a browser tab automatically. You will then how to type the following address into a new tab in your browser: http://localhost:3333/

Then that’s it! You should be up and running with your Local Development Server!


How to change the port your Local Development Server runs on (Among other things)

If you need to alter some of your local development server configuration settings, you can do that!

You just need to create a file in the root of your SFDX project called localdevserver.config.json and add the relevant JSON to it. You can see an example here from Salesforce themselves, however the JSON example they have is actually incorrect, you have to make sure to wrap you names in double quotes (which is not shown in the Salesforce example. I’ll show you what I mean below with an example:

{
  "port": 3333
}

It’s super important to add those double quotes are the name in your JSON name value pairs. Otherwise nothing is gonna work!


Get Coding With The Force Merch!!

We now have a redbubble store setup so you can buy cool Coding With The Force merchandise! Please check it out! Every purchase goes to supporting the blog and YouTube channel.

Get Shirts Here!
Get Cups, Artwork, Coffee Cups, Bags, Masks and more here!


Check Out More Coding With The Force Stuff!

If you liked this post make sure to follow us on all our social media outlets to stay as up to date as possible with everything!

Youtube
Patreon
Github
Facebook
Twitter
Instagram


Salesforce Development Books I Recommend

Advanced Apex Programming
Salesforce Lightning Platform Enterprise Architecture
Mastering Salesforce DevOps

Good Non-SF Specific Development Books:

Clean Code
Clean Architecture

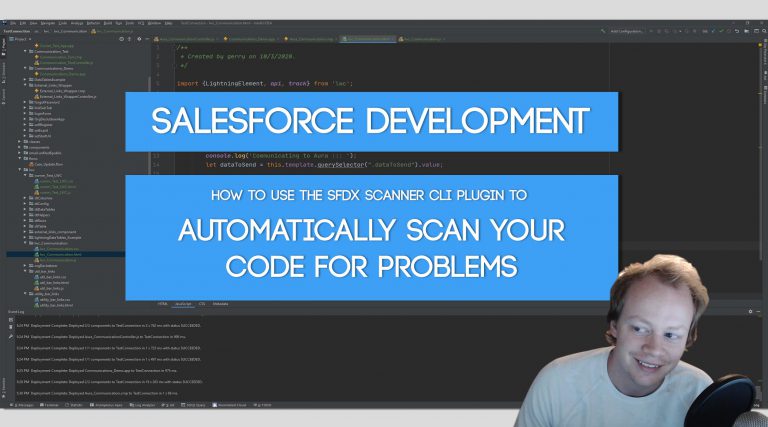
Salesforce Development Tutorial: How to use the SFDX Scanner Salesforce CLI Plugin for Static Code Analysis

Why Use Static Code Analysis Tools?

There are two major reasons to use static code analysis tools:

1) They make you a better developer. These industry standard rules exist for a reason. To make code clean, modular and easy for all the developers that come after you to deal with. So be a kewl guy and make some beautiful code.

2) If you haven’t had to deal with this, I envy you, but for many of us out there you will eventually have your codebases reviewed by a third party. It may even be Salesforce themselves, and when they review your codebase they will run these tools against it to gauge the health of the code in your org. I have seen people lose contracts because of this (and in some cases rightfully so), but if you are constantly running a static code analysis tool again your code you write every sprint and fixing the problems it finds, you’re not gonna see too many issues pop-up when someone else reviews the code.


How to use the SFDX Scanner Plugin?

To utilize the SFDX Scanner plugin we need to do the following (Checkout the GitHub wiki I wrote here):

1) Install the Java Development Kit (JDK) version 8 or higher

2) Install the Salesforce CLI

3) Setup a Salesforce VS Code Project

4) Install the sfdx scanner plugin for the Salesforce CLI by opening up a terminal window and running the following command:

sfdx plugins:install @salesforce/sfdx-scanner

5) Open the Terminal in VSCode and run the following command to scan your entire codebase for all static code issues (make sure to replace pathToFile.csv with the actual path for your file):

sfdx scanner:run --target "**/default/**" --format "csv" --outfile "pathToFile.csv" 

6) The above command will output a csv that shows you all of the issues with the code in your org within a few seconds (unless you have a mega code-base. It may take a few minutes then).

7) For more information on the wealth of configuration options you have with this cli plugin, please check out the SFDX Scanner GitHub repo

That’s it guys! Pretty simple! There are a ton of additional configuration options you can do with this CLI plugin and you can check them out in the GitHub repo linked above. In a future article I will hopefully show you how to make custom pmd rules and rulesets to use if you aren’t a fan of the default ones, but that’s a pretty big topic.


Get Coding With The Force Merch!!

We now have a redbubble store setup so you can buy cool Coding With The Force merchandise! Please check it out! Every purchase goes to supporting the blog and YouTube channel.

Get Shirts Here!
Get Cups, Artwork, Coffee Cups, Bags, Masks and more here!


Check Out More Coding With The Force Stuff!

If you liked this post make sure to follow us on all our social media outlets to stay as up to date as possible with everything!

Youtube
Patreon
Github
Facebook
Twitter
Instagram


Salesforce Development Books I Recommend

Advanced Apex Programming
Salesforce Lightning Platform Enterprise Architecture
Mastering Salesforce DevOps

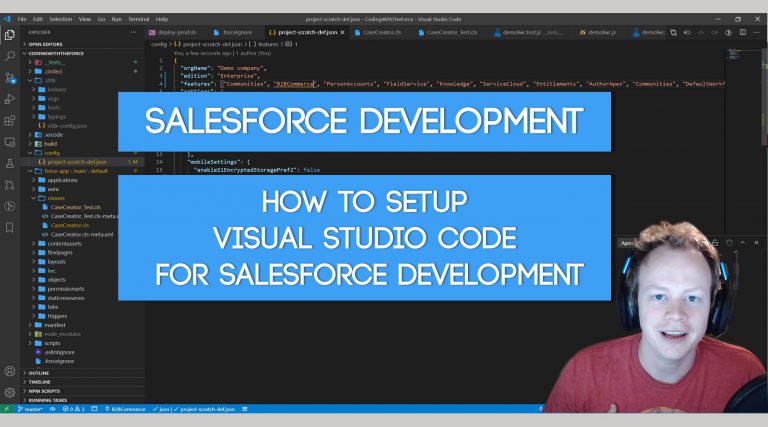
Salesforce Development Tutorial: How to Setup Visual Studio Code for Salesforce Development

Why use an IDE?

First things first… after you use an IDE you will never ask this question again. IT MAKES YOUR LIFE SO MUCH EASIER! Please take the time to leverage an IDE when doing development. Your work will take a fraction of the time it would take otherwise.

Ever wish your code editor would auto-complete method names, field names, object names, etc for you? Well an IDE will do that along with tons of other things that will simply development.

As for why you would pick Visual Studio Code specifically for Salesforce Development, you would do that because it’s an excellent IDE and it’s the only IDE with plugins that Salesforce itself maintains. That’s right, THE ONLY ONE! There are two other big contenders, the Illuminated Cloud 2 for IntelliJ and The Welkins Suite, but the Salesforce Extension pack for VSCode is the only one upkept directly by Salesforce. As such, it has a large team of developers constantly working to keep it up to date and as useful as possible for your work as a developer on the platform.

How do we setup Visual Studio Code for Salesforce Development?

It’s not super complicated, but can be confusing your first handful of times setting things up. Before I get started, if you’d rather read my GitHub wiki on the subject you can find it here.

You first need to install a handful of things if you haven’t already:

1) Install VSCode
2) Install the Salesforce CLI
3) Optionally install Node.js and npm (there are a lot of great packages in existence you can leverage, but we’re not gonna over those here, just know it can come in handy down the line)

After you have installed VSCode and the Salesforce CLI, you then need to open VSCode, click on the extensions icon and search for the Salesforce Extension Pack. After you find the extension pack, install it.

How to Setup a Project (Using the org based development model)

Before I get into this, if you’re not sure what an org based development model is, it basically means your source of truth for your codebase is still your production org instead of a repository. In a later tutorial I will go over how to actually leverage SFDX and a repo based model, but I want to ease people into this and I know from being involved in twenty three different orgs now, the majority of clients are still stuck in the org based model… so we’re gonna start here.

There is one VERY IMPORTANT HOT KEY YOU NEED TO REMEMBER IN VSCODE and that hotkey is the one that brings up the command palette Ctrl+Shift+P. Remember it, love it, appreciate it, don’t forget it (or do and just come back to this article to remember it).

Alright, now that those things are out of the way, let’s go through the steps to setup our project:

1) Bring up the command palette and run the SFDX: Create Project with Manifest command (technically creating it with a manifest is optional these days, but you’ll see why it’s still beneficial later).

2) When prompted, choose the standard template for your manifest file (unless you would prefer an empty or analytics based template). The standard template creates an xml file that would pull all your code from the org.

3) After your SFDX project has been created it’s in your best interest to find the sfdx-project.json file, open it and update the sfdcLoginUrl to have the login URL for your org. Some orgs have MyDomains they have to login through. It’s super useful for those scenarios.

4) After you update the sfdx-project.json, pull up the command palette again and enter the command SFDX: Authorize an Org. This command will ask you what URL you would like to use to connect to your SF org, ask you to enter an alias for your org (this can be anything) and eventually bring up a browser window and allow you to authenticate/login to your org you want to connect to.

5) That’s it, your project is setup! But now how to do we pull in the metadata from our org into our local project? Still super simple, but the next section covers it.

How to retrieve metadata from your org

There are actually two ways to do this, one leverages the manifest file we created earlier when setting up our project and the other uses the org browser. Let’s check out both methods.

Retrieving Metadata from the Org Browser

To the left of your Visual Studio Code workspace, after successfully setting up your project and connecting to your org, you should see a cloud icon. If you click that cloud icon you will bring up the org browser. This allows you to bring up all the metadata in your org. If you hover over a metadata item, to the right of it you will see an icon shaped like a cloud with an arrow. Clicking this icon will allow you to pull the metadata into your local project.

Retrieving Metadata using the manifest package.xml file

Before we get into this, there is an extension called “Salesforce Package.xml Generator” that will make setting up these package.xml files way easier.

This method is very useful if you intend to pull a ton of specific data from your org into your projects consistently. It’s also quite a bit faster than the org browser is in those situations.

To use this method to pull in metadata, do the following:

1) You should see a “manifest” folder in your project. Inside that folder there should be a file called “package.xml”. You can either leave it alone or update the package.xml file to include more metadata types to pull from your org. When you retrieve data in the next step, you will only retrieve data types declared in your package.xml file. For more information please check out the supplementary links section of this wiki article

2) In the command palette run the SFDX: Retrieve Source in Manifest from Org command. This should pull in all the metadata from your org that you outlined in your package.xml file.

Other Useful Things To Setup

The above stuff is the only stuff that’s required to get up and running, but the stuff I outline below will make your life suck way less.

How to get auto-complete to work for object fields

1) In the command palette run the SFDX: Refresh SObject Definitions command so that you can get autocompletion on your object fields.

If you want your SObject definitions to automatically refresh every time you open your VSCode project, do the following:

In the extension settings under “Salesforce Apex Configuration” there is a checkbox for “Enable-sobject-refresh-on-startup”. This automatically refreshes your sobjects from your org when your project is loaded.

How to Auto-Deploy to your org on save

If you didn’t know, by default you won’t auto-deploy to your org when you save your code. You have to right click on your file in the project and select the option that deploys the code to your org. If you want auto-deploy to be setup, follow these steps:

1) In VSCode go to File -> Preferences -> Settings.
2) Click the Extensions drop down
3) Click the Salesforce Feature Previews extension
4) Check the box next to “Push-or-deploy-on-save”
5) It’s also in your best interest to enable the “Detect Conflicts At Sync” feature preview in settings if you use the auto-deploy on save feature. By enabling this you will be informed if your save has any conflicts with other developers code before you actually deploy it to your org.

Still want more info?

In the GitHub wiki article I have even more useful stuff and I update it frequently. Check it out!


Get Coding With The Force Merch!!

We now have a redbubble store setup so you can buy cool Coding With The Force merchandise! Please check it out! Every purchase goes to supporting the blog and YouTube channel.

Get Shirts Here!
Get Cups, Artwork, Coffee Cups, Bags, Masks and more here!


Check Out More Coding With The Force Stuff!

If you liked this post make sure to follow us on all our social media outlets to stay as up to date as possible with everything!

Youtube
Patreon
Github
Facebook
Twitter
Instagram


Salesforce Development Books I Recommend

Advanced Apex Programming
Salesforce Lightning Platform Enterprise Architecture
Mastering Salesforce DevOps